Controlling Brown Institute AV
All projection to shared sources is controlled at the Crestron AV Panel located at the entrance to room 201A. To project any shared source to any display in the space follow the steps below. Static views of the AV Panel have been included below, for reference.
Controlling Sources/Displays
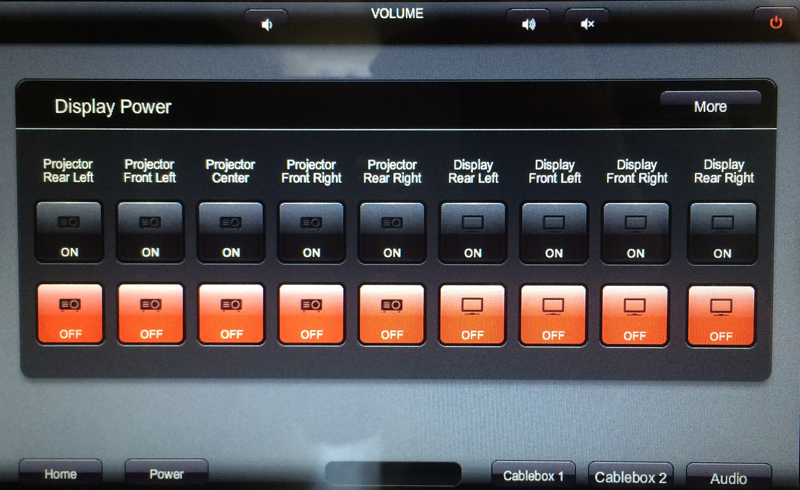
- Press the ‘Power’ button located at the bottom of the AV Panel and select “On” for each device you want to project to.
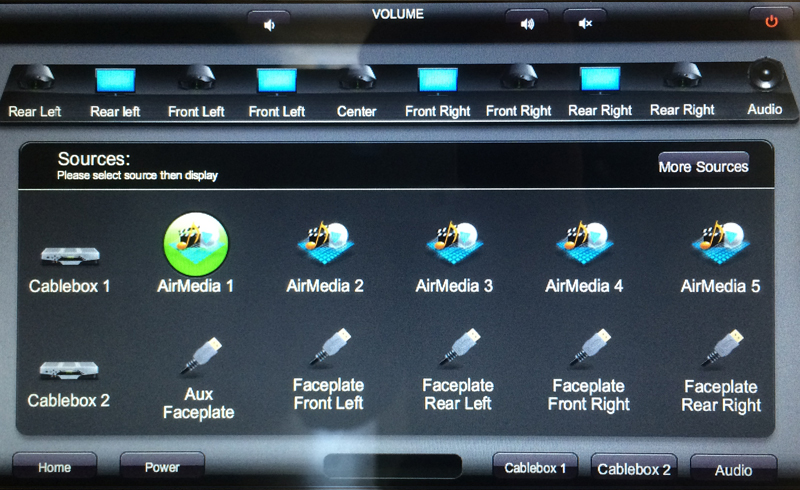
- Press the ‘Home’ button located at the bottom of the AV Panel and select the source you want to project. A green circle will encompass the source you have selected.
- Remain on the Home screen and select the display(s) you would like to project to on the horizontal row of displays that lines the upper portion of the screen. Please note that for all displays, the track can be swiped right and left.
- To project audio to the main space, please do the same, only instead (or in addition to) selecting the display, select the Audio button from the display track. More on controlling audio, below.
Power Screen
Home Screen
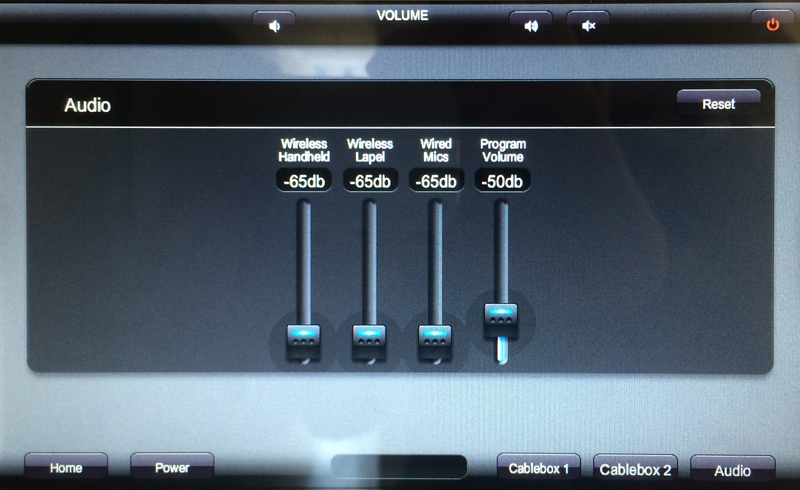
Controlling Audio (in-Depth)
To control the audio levels in the space, select the Audio button located in the bottom right of the screen. On the Audio Level screen, choose which of the volume groups you would like to alter and turn the volume up or down. Please note that all wireless hand-held mics are clustered, thereby disabling the ability to control levels to a particular hand-held mic, wired mic, or lapel mic.
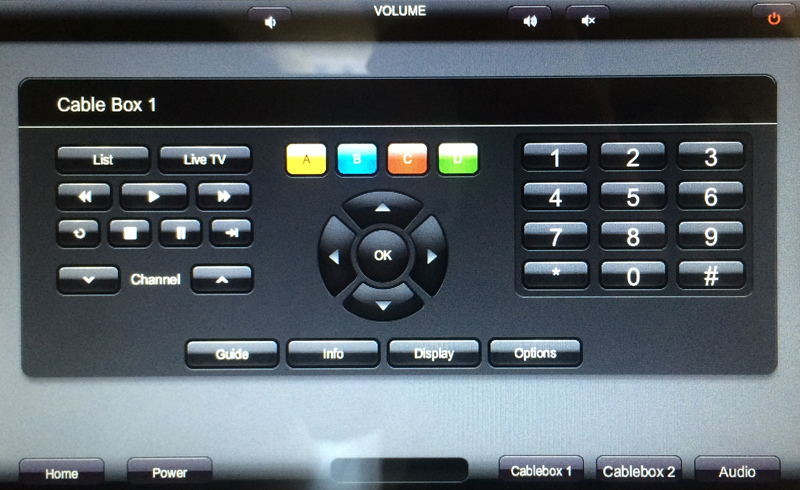
Controlling Cable
To control the cable box, make sure that a cable box is being projected to your desired display. If the box seems unresponsive, you must manually select the power button on the cable box(es) located in the rack in our server room. To do so, please get the key from Mark or Michael. Once the cable box is being properly projected, select Cablebox 1 or Cablebox 2 and use the options to navigate channels.